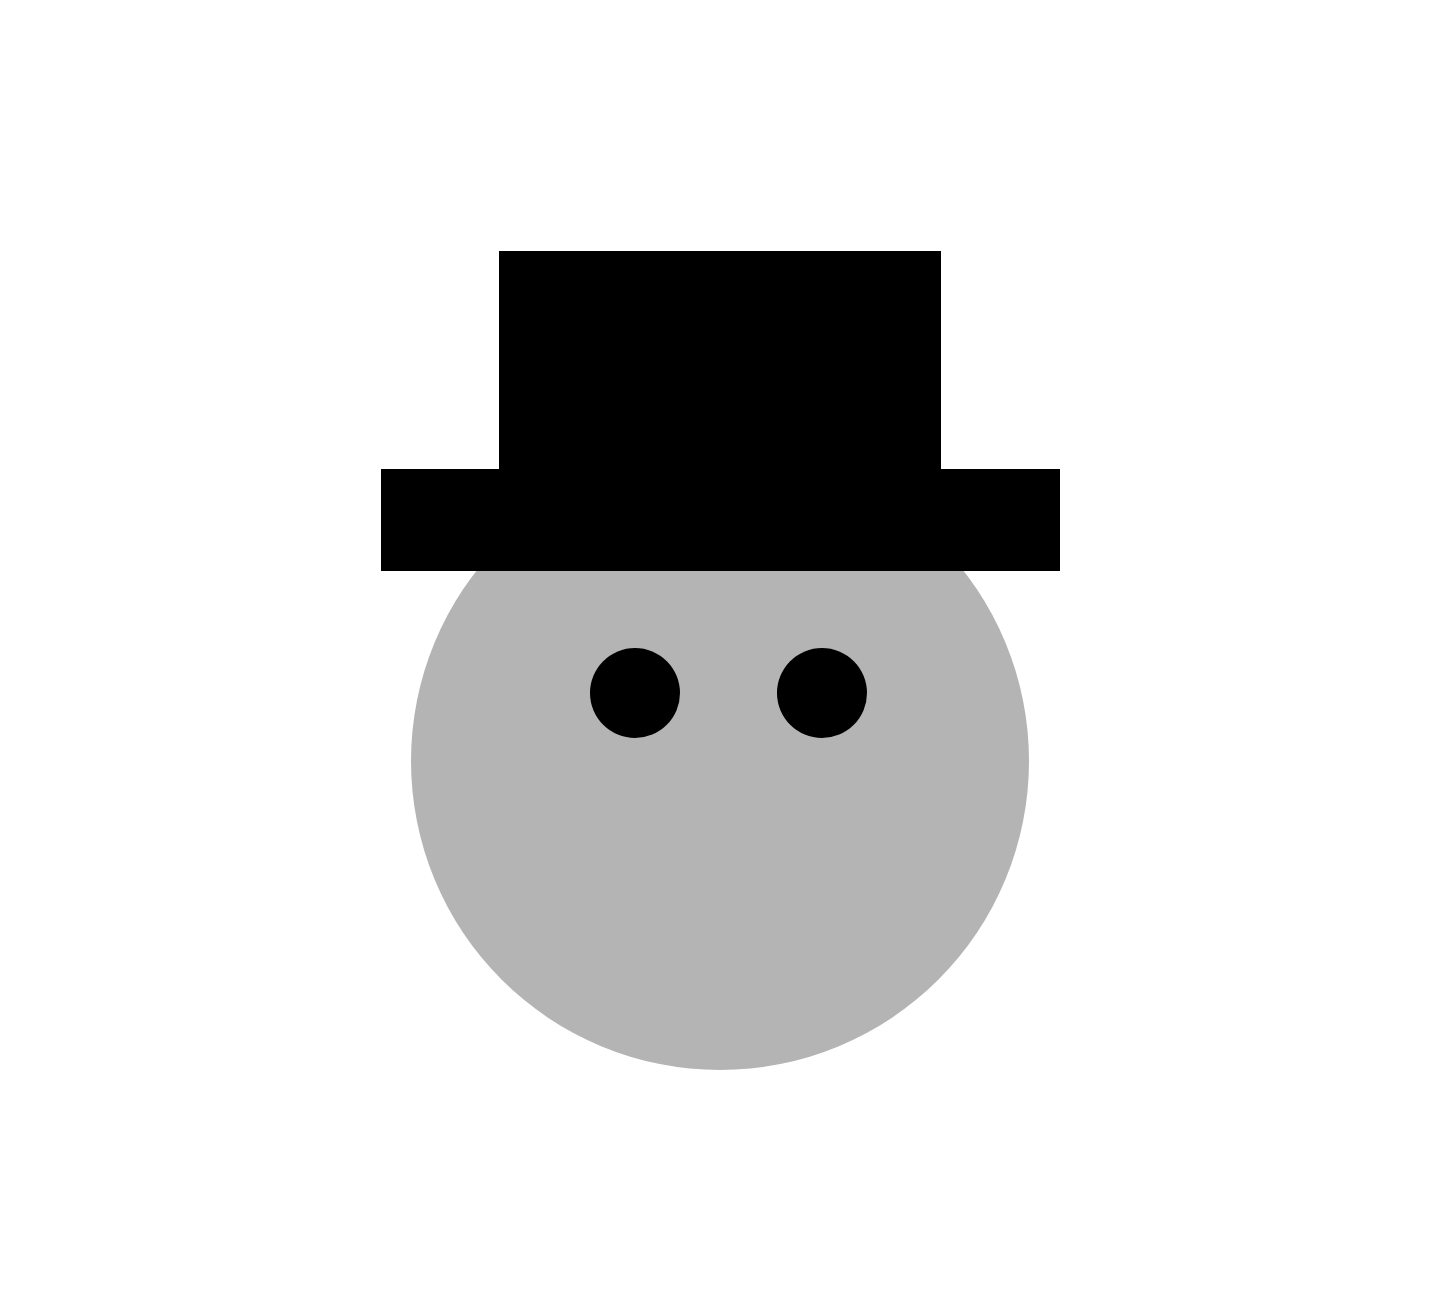
Instructions for XD Drawing
px stands for pixels
w stands for width
h stands for height
x stands for x-axis
y stands for y-axis
- Open Adobe XD.
- Select Custom Size and for width, put 1440px and height will be 1300px.
- Click on the ellipse/circle tool and while holding the shift key, draw a perfect circle that is 618 pixels in width and height.
- On the right toolbar, scroll until you see options to change appearance and change the color by clicking on the square next to "fill," and make the color a grey by copying and pasting this HEX, "#B4B4B4" into the typebox located next to the type, "Hex."
- Underneath "fill," there should be the text, "Border," beneath. Click so that the checkmark is unchecked next to it, there should NOT be a border around your circle.
- Click on the ellipse tool while holding the shift key and create a circle that is 90px in width and height.
- Go back to the right toolbar, find "Fill," drag the color cursor to the bottom left corner until the circle is black. Uncheck the border so there is no border.
- Select your black circle and using "ctrl+c", copy it. Then paste it, using "ctrl+v."
- Look at the right tool bar and locate where there is text that says, "Transform." There should be a w for width, an "h" for height, an "x" for the x-axis, and a "y" for the y-axis. Move the grey circle until the right tool bar shows the "x" as 411 and the "y" as 452.
- Move the left black circle until the right tool bar shows its x as 590 and its y as 648.
- Move the second black circle until the right tool bar shows its "x" as 777 and its "y" as 648.
- Select the rectangle tool and draw a rectangle that is 679px in width and 102px in height.
- Using the fill tool on the left side, copy instruction 7's color instruction to make the rectangle black and uncheck the border tool.
- Move the rectangle until it the "x" is 381 and the "y" is 469.
- Draw one more rectangle using the rectangle tool located on the left tool bar. It should be 442px in width and 252px in height.
- Using the fill tool on the left side, copy instruction 7's color instruction make the rectangle black and uncheck the border tool.
- Move the rectangle until the "x" is 499 and the "y" is 251.
- Export the image as a jpg or png and email the picture to kgustaf@gmu.edu.
You should hopefully have successfully created this very basic drawing.
Original Drawing

Claudia's Drawing

Nikko's Drawing


